In the evolving digital landscape, the agility and efficiency of your application infrastructure are more critical than ever.
As instability in the world of Infrastructure as Code (IaC) leads DevOps teams to explore alternative options for delivering application infrastructure, onboarding and migration are a key consideration.
This article walks through the process of migrating resources managed via Terraform Cloud to setup an account with Quali Torque.
Understanding the differences between Terraform Cloud & Quali Torque
Transitioning to Torque allows DevOps teams to democratize not only the provisioning of infrastructure defined in Terraform, but also the orchestration of more complex application environments that leverage that infrastructure.
Torque is a platform engineering tool that leverages our users’ existing Terraform and other IaC —as well as Kubernetes resources and CI/CD tools—to create reusable templates for application environments.
To create those templates, Torque provides no-code “building blocks” representing the user’s IaC assets (as well as out-of-the-box templates available in that platform) which platform and DevOps engineers can use to add to their environment template. This automatically generates a new source file in YAML that defines the infrastructure layers, application services, and parameters needed to launch an application, environment, or service.
These templates are given user-friendly names—think things like “Software Testing Environment”—and made available in a self-service catalog where developers can find and launch them on-demand. All parameters and tags are populated with default values managed by the DevOps team, while all security credentials are handled via Torque’s native encryption for secrets management.
Through this approach, both DevOps teams and the development teams they support can leverage Terraform and other IaC tools, regardless of their expertise in the IaC, Kubernetes, or cloud platforms used to run application infrastructure.
In addition to the self-service model, managing Terraform via Torque provides cost predictability, enhanced flexibility, and superior control over IaC workflows. Take a deeper dive into the differences between Torque and Terraform Cloud with this demo:

Option 1: Connect a Git Repository to Discover Your Terraform Modules
Torque’s centralized orchestration and management for Terraform and other IaC tools facilitate quick onboarding, standardization, and secure deployment processes.
Here is a high-level overview for initiating your onboarding of Torque.
1. Create a New Torque Space
Objective: Creating a Space establishes a logically separate area for your projects or teams. The Space is where your end users will access and provision infrastructure, which allows administrators to democratize access to the infrastructure they need while denying access to anything they do not.
How-To: Navigate to the “Administration” section within Torque and select the “Spaces” tab to create a new space. Define the space name, image, and color to reflect your project or team identity. Spaces allow for efficient management of assets, blueprints, and permissions, ensuring that resources are organized according to your operational needs.
2. Onboard Your Git Repository
Objective: Link your repository to discover and utilize automation assets within Torque. This will allow you to create a self-service access for your teams to provision infrastructure defined in Terraform with a simple click of a button.
How-To: Use the repository onboarding wizard in Torque to connect your Git repository. This process involves selecting your VCS provider, providing the repository URL, and authenticating. Torque will then auto-discover Terraform modules and other automation assets, paving the way for blueprint generation.

3. Generate and Modify Blueprints Leveraging Your Terraform Modules
Objective: Make your infrastructure defined in Terraform available for environment design and provisioning via Torque, including the necessary deployment credentials.
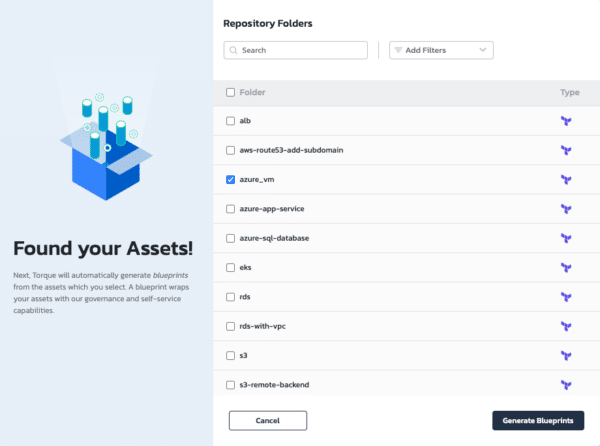
How-To: After Torque has discovered the assets in your repository, you can select those for which you’d like to generate blueprints.
Modify these blueprints using Torque’s YAML editor to include AWS or Azure authentication credentials, ensuring your modules execute with the necessary permissions. This customization is vital for tailoring the deployment process to your specific cloud environment.
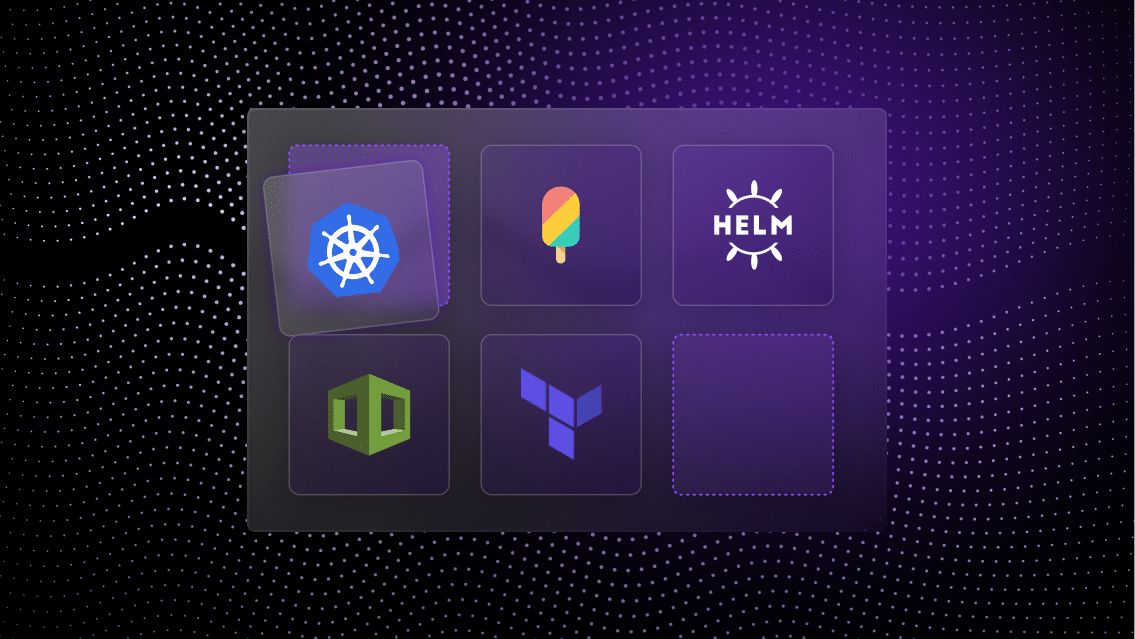
Torque will discover all IaC modules in your repository, including Terraform, OpenTofu, CloudFormation, Ansible, and Helm.
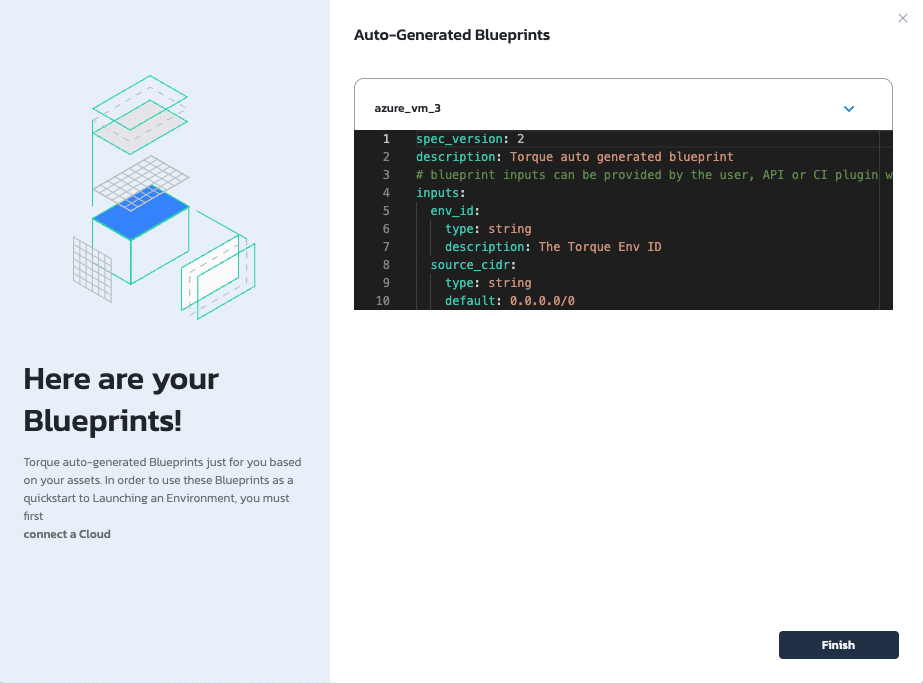
Torque automatically generates a YAML leveraging your Terraform configuration so you can provision via Torque.
4. Launch and Access Deployed Resources
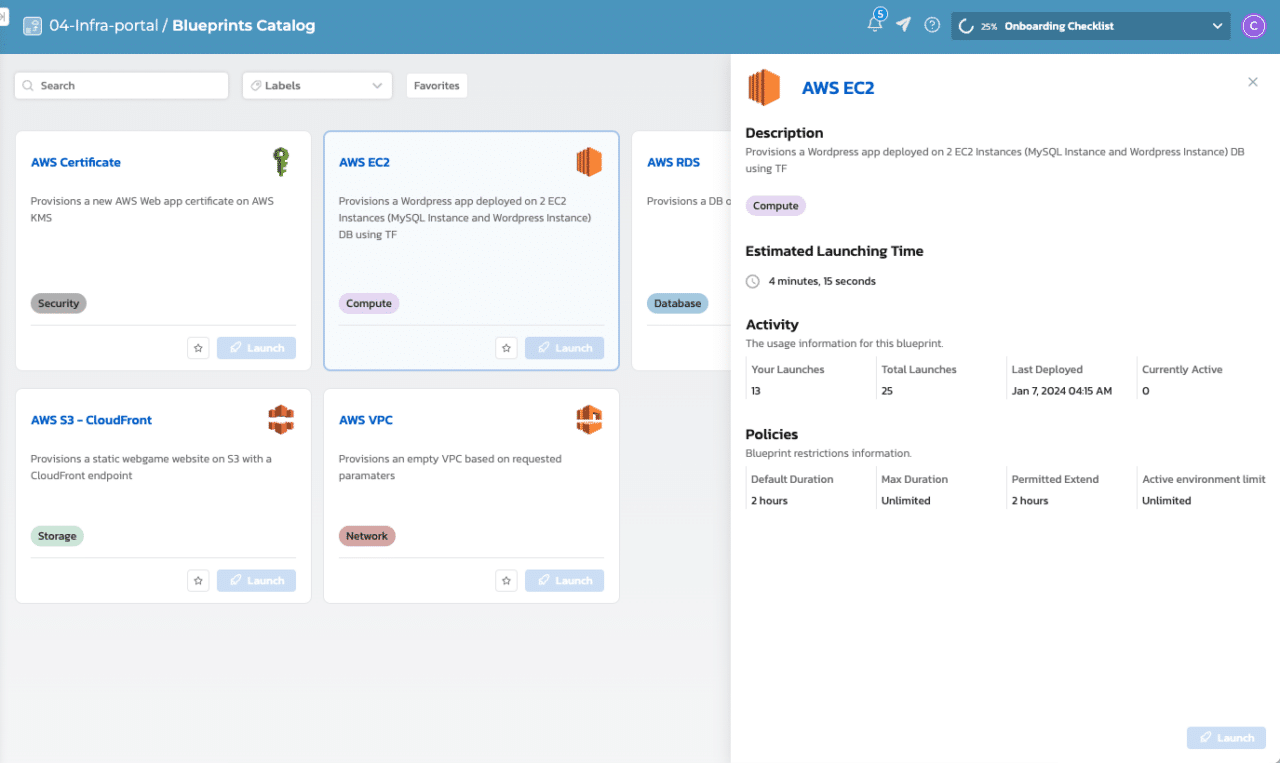
Objective: Deploy your infrastructure using the newly created blueprint and access the resources.
How-To: With the blueprint ready, launch your deployment from the Torque catalog. Specify necessary inputs like environment name, duration, and authentication details. Once deployed, access the resources in your new environment, utilizing Torque’s intuitive interface to monitor and manage your infrastructure effectively.
Option 2: Import a Live Terraform State
Some new users may opt to ensure their Torque account leverages the current state of their infrastructure defined in Terraform.
Here is a step-by-step walkthrough for this approach.
1. Export Your Cloud Resources to Terraform Format Using Terraformer
Objective: Generate Terraform code and state files for existing cloud resources.
How-To: Install and use Terraformer to export your cloud resources into Terraform format. This step is crucial for capturing the current state of your infrastructure, allowing for a seamless transition to Torque.
2. Import Terraform Configuration into Torque
Objective: Incorporate the Terraform module and state file into Torque.
How-To: Commit the generated Terraform module to your repository and onboard it to Torque by selecting your VCS provider, providing the repository URL, and authenticating. Torque will discover the assets in this repository and generate new blueprints for those resource configurations within the platform. Thes blueprints serve as the templates for deploying your infrastructure within Torque, maintaining consistency with your existing setup.
3. Create a Torque Environment Using the Blueprint and State File
Objective: Deploy your infrastructure in Torque, utilizing the imported Terraform state.
How-To: Use the Torque API to import your environment using the generated blueprint and state file. This process involves specifying the environment name, blueprint details, and pointing to the state file’s location. By importing the state file, Torque can manage existing resources without redeployment, ensuring continuity and efficiency.
These options offer a smooth transition to a simpler approach for managing IaC. Migrating from Terraform Cloud to Quali’s Torque platform will not only provide a more cost-efficient approach to managing cloud infrastructure—it also enables DevOps teams to establish a developer platform for that infrastructure.